

Creating Routes and Handling Requests with Express
A Beginner-Friendly Guide to Creating Routes in Express.js
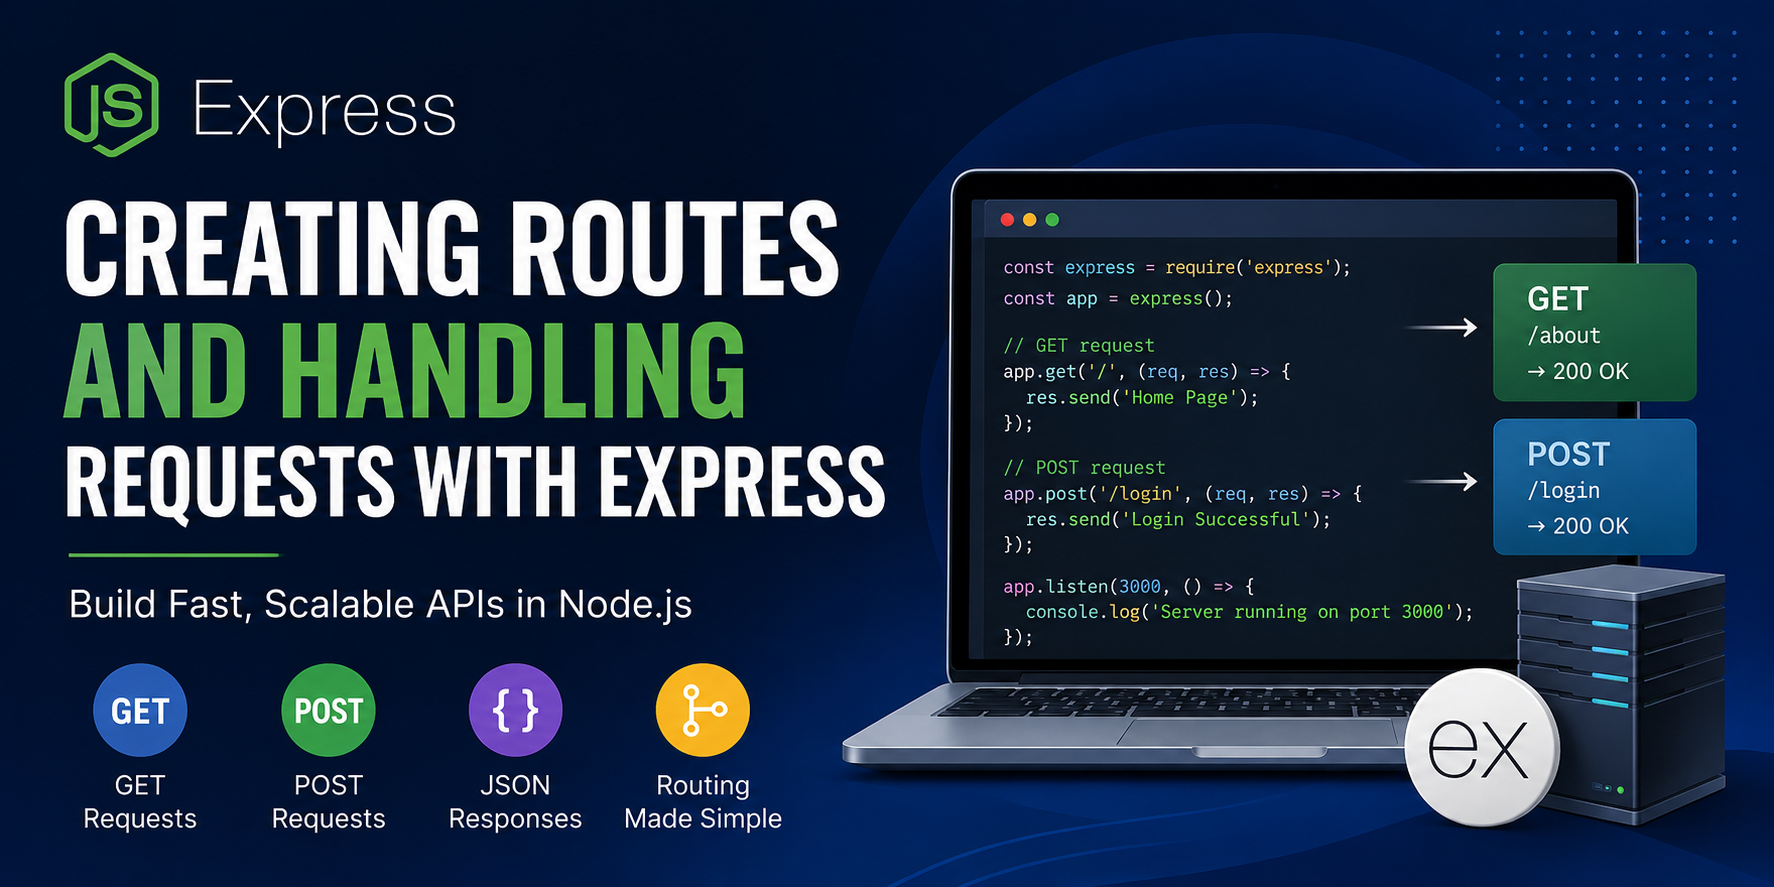
When beginners first start learning backend development with Node.js, one thing becomes obvious very quickly: creating even a small server requires writing a surprising amount of repetitive code.
At first, it feels exciting. You create a server, open the browser, and see your response appear on the screen. That tiny moment feels magical because the server you wrote is actually talking to the browser.
But after a while, the excitement slowly turns into frustration.
You start checking URLs manually.
You start checking request methods manually.
You keep writing response handling code repeatedly.
Every new route adds more condition checks.
Every feature makes the file longer and harder to read.
Suddenly your simple server no longer feels simple.
This is exactly where Express.js enters the picture.
Express.js is one of the most popular frameworks built on top of Node.js. It does not replace Node.js. Instead, it simplifies many of the tasks developers repeatedly perform while building servers and APIs. Routing, handling requests, sending responses, and organizing backend logic become much cleaner and easier to manage.
For beginners, Express often feels like the point where backend development finally starts making sense.
Why Raw Node.js Starts Feeling Difficult
Node.js already provides a built-in http module that allows developers to create servers without using any framework. Technically, you can build complete applications using only Node.js itself.
The problem is not capability.
The problem is maintainability.
Let’s look at a small example using raw Node.js.
const http = require("http")

const server = http.createServer((req, res) => {

  if (req.url === "/" && req.method === "GET") {
    res.end("Home Page")
  }

  else if (req.url === "/about" && req.method === "GET") {
    res.end("About Page")
  }

  else {
    res.end("404 Page Not Found")
  }

})

server.listen(3000)
If you are seeing this kind of code for the first time, it may not look too bad. The server works. Different URLs return different responses. Everything seems fine.
But now imagine building a real project.
A real application may contain authentication routes, profile pages, product APIs, dashboards, settings pages, payment systems, admin panels, and hundreds of additional routes. Managing all of that manually inside large condition blocks quickly becomes difficult.
This is why developers prefer Express.
Express provides a cleaner way to organize server logic so applications remain manageable as they grow.
How Express Makes Things Simpler
Now let’s look at the same routing example using Express.
const express = require("express")

const app = express()

app.get("/", (req, res) => {
  res.send("Home Page")
})

app.get("/about", (req, res) => {
  res.send("About Page")
})

app.listen(3000)
Even beginners immediately notice the difference.
The code feels easier to read because each route is clearly separated. Instead of manually checking request URLs and methods, Express handles route matching internally.
You simply define what should happen for a particular route.
This small improvement becomes extremely important when applications grow larger. Code readability matters much more in backend development than beginners initially realize. Projects are not written once and forgotten forever. Developers constantly return to old code to fix bugs, add features, or improve functionality. Cleaner code saves time and reduces confusion.
That is one of the biggest reasons Express became so popular in the Node.js ecosystem.
Installing Express.js
Before creating routes with Express, the framework must be installed inside the project.
First, create a new folder for the application.
mkdir express-app
cd express-app
Now initialize Node.js.
npm init -y
This command creates a package.json file which stores project-related information and dependencies.
Next, install Express.
npm install express
After installation finishes, Express becomes available inside the project.
At this point, you are ready to create your first Express server.
Creating Your First Express Server
Create a file named server.js.
Inside that file, write the following code:
const express = require("express")

const app = express()

app.listen(3000, () => {
  console.log("Server running on port 3000")
})
Now open the terminal and run:
node server.js
You should see:
Server running on port 3000
At this stage, the server is active, but it still does not know how to respond to incoming requests. If someone visits the application in the browser, Express has no routes defined yet, so there is nothing meaningful to display.
The server is running, but it is essentially waiting for instructions.
Understanding Routing in Express
Routing is one of the most important concepts in Express.
A route determines how the server should respond when a user visits a particular URL.
For example, when someone visits:
/about
the server may show an About page.
When someone visits:
/contact
the server may display a contact form.
Different URLs trigger different pieces of backend logic.
Express makes this process extremely straightforward.
Routes are usually created using methods such as:
app.get()
app.post()
The method represents the type of HTTP request being handled, while the route path represents the requested URL.
For beginners, this routing system often feels much more natural than manually writing endless condition checks using raw Node.js.
Handling GET Requests
GET requests are used when the client wants to retrieve data from the server.
Whenever you open a webpage in the browser, the browser usually sends a GET request automatically.
Here is a simple example:
const express = require("express")

const app = express()

app.get("/", (req, res) => {
  res.send("Welcome to the Home Page")
})

app.get("/about", (req, res) => {
  res.send("Welcome to the About Page")
})

app.listen(3000)
Now, if you visit:
localhost:3000/
the browser displays:
Welcome to the Home Page
And visiting:
localhost:3000/about
shows:
Welcome to the About Page
This simple idea forms the foundation of backend routing.
When a request reaches the server, Express checks the request type and URL, finds the matching route, and executes the corresponding function.
Understanding the Request and Response Objects
Every Express route handler receives two important objects:
(req, res)
These objects are central to how Express works.
The req object contains information about the incoming request. It provides details such as the request URL, headers, query parameters, and much more.
For example:
req.url
req.method
req.headers
The res object is used to send data back to the client.
Without a response, the browser continues waiting because the request has not been completed properly.
This is why sending a response is necessary.
res.send("Hello World")
Once the response is sent, the request-response cycle finishes successfully.
Understanding this relationship between requests and responses is one of the most important parts of backend development.
Sending Responses in Express
Express provides several methods for sending responses.
The simplest one is:
res.send("Hello")
This can send plain text directly to the browser.
Express can also send HTML content.
res.send("<h1>Welcome</h1>")
In addition, Express makes sending JSON extremely convenient.
res.json({
  username: "dnano",
  role: "developer"
})
This becomes especially useful while building APIs because APIs commonly exchange data in JSON format.
One reason beginners enjoy Express is that many technical details are handled automatically behind the scenes. Developers can focus more on application logic rather than constantly managing low-level server behavior.
Handling POST Requests
GET requests retrieve data.
POST requests send data to the server.
Features like login forms, registration systems, comments, and file uploads commonly use POST requests.
Creating a POST route in Express looks like this:
const express = require("express")

const app = express()

app.post("/login", (req, res) => {
  res.send("Login Successful")
})

app.listen(3000)
This route only accepts POST requests.
If someone directly opens /login inside the browser, Express returns:
Cannot GET /login
This message confuses many beginners at first, but the reason is simple.
The browser made a GET request, while the route only handles POST requests.
Since no matching GET route exists, Express cannot process the request.
Understanding this difference between GET and POST requests is an important step in learning backend development properly.
How Express Handles Incoming Requests
When a request reaches an Express server, several things happen internally.
First, Express checks the request method. Then it checks the request URL. If it finds a matching route, the corresponding callback function executes and sends a response back to the client.
For example:
app.get("/profile", (req, res) => {
  res.send("Profile Page")
})
If the browser sends:
GET /profile
Express successfully matches the route and returns the response.
If no matching route exists, Express returns an error message indicating that the requested route could not be found.
This routing system is one of the core ideas behind Express applications.
Testing Express Routes
GET routes are easy to test because browsers naturally send GET requests whenever webpages are opened.
POST routes are slightly different because browsers do not directly create POST requests by visiting URLs.
For this reason, developers often use tools such as Postman to test APIs and backend routes.
These tools allow developers to manually send different types of HTTP requests while experimenting with APIs during development.
As applications become larger, API testing tools become extremely valuable.
Final Thoughts
For many beginners, Express is the point where backend development finally starts feeling structured instead of overwhelming.
Raw Node.js is useful because it teaches how servers fundamentally work, but Express removes much of the repetitive complexity that makes backend code difficult to manage.
Routing becomes cleaner.
Request handling becomes easier.
Server code becomes more organized.
Applications become easier to scale.
And this is only the beginning.
Once you become comfortable with routes and request handling, the next major topics usually include middleware, route parameters, request bodies, REST APIs, authentication systems, and database integration.


